UK-based suppliers, applicators and trainers. Call us today to get a free sample : 01604 644604

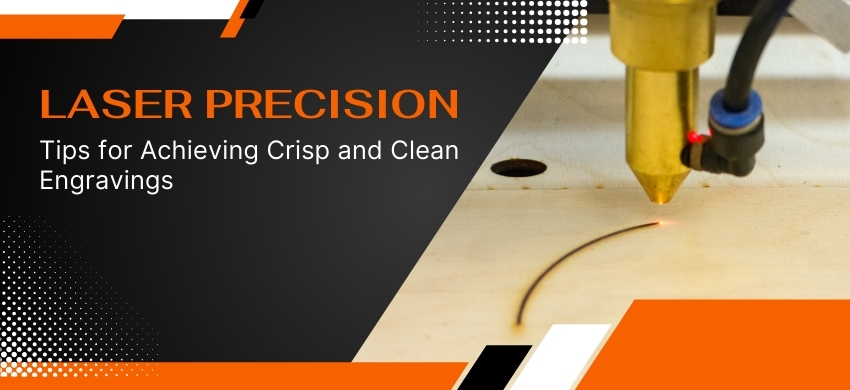
A common method for producing accurate and intricate designs on a range of materials, such as plastic, metal, and wood, is laser engraving. Perfect laser engraving demands meticulous planning and attention to detail. Here are some tips for clean laser engraving.
The materials you use will have a big influence on how well your laser engraving turns out. Low-quality or inexpensive materials may not produce engravings that are as precise or clear as those made of higher-quality materials. When selecting materials for your project, look for ones designed especially for laser engraving. These materials were created to yield the best quality engravings with the least amount of residue. These materials often have a longer lifespan and are more durable than regular materials.
Achieving the perfect laser engraving requires optimising your laser settings. Important parameters that affect the depth and calibre of the engraving include the laser's intensity, speed, and focus. The material's surface layers burn and evaporate as the laser beam strikes it, producing an engraved mark. The kind of material, the laser's power, and how long the laser is concentrated on a particular spot all affect how deep the engraving is. Because of the great precision of this procedure, adjusting the settings is necessary to get the appropriate outcome.
For optimal results, laser engraving needs lines that are distinct and unambiguous. Reduce your design to its most basic components and eliminate any extremely intricate details that could not transition well to engraving. You can better see the sections that will be engraved if you convert the layout to black and white (or grayscale, if your engraver allows it). Make sure the picture has a good resolution and resize it to the right size or format before engraving.
To get the perfect laser engraving, your material must be cleaned before engraving. The laser's ability to precisely and cleanly engrave a surface might be hampered by any dirt, dust, or debris present. Gently brush off any loose particles from the surface with a soft brush or a piece of cloth. By doing this, any surface residue that would obstruct the laser's ability to precisely and cleanly engrave is eliminated.
You may see certain defects after engraving, such dust, ugly markings, and consumption residue. You can deal with a variety of unsightly blemishes on your material by using these easy tips:
Apply White Vinegar with a Towel or Clean Cloth.
White vinegar works wonders for cleaning practically any kind of material. Using a clean cloth or paper towel, apply a solution made of equal parts white vinegar and water to the engraved area. To get rid of any residue, gently wipe the area.
Use a Waterless or Orange Hand Cleaner.
Dab the engraved area with a clean cloth or paper towel after lightly applying a tiny amount of waterless or orange hand cleaner on it. Any leftover hand cleaner can then be removed with a moist cloth.
Select a Light Sanding Technique.
The majority of finishing techniques require sanding. It's optional to finish your laser-engraved parts, though. If sanding is necessary, use fine-grit sandpaper to eliminate any remaining material from the surface without leaving noticeable scratches.
Apply Rubbing Alcohol.
Alcohol rubbing works well to get rid of tenacious residue from your material. Use a clean cloth or paper towel and a tiny bit of rubbing alcohol to gently rub the etched area. This will assist in removing any residue and leave your material with a glossy, clean appearance.
Utilize a Magic Eraser.
A flexible cleaning tool, magic erasers can be used to remove a wide range of stains and blemishes from your material. To get rid of any residue, wet the magic eraser and gently rub the engraved area. Avoid rubbing your material too aggressively as this can cause surface damage.
Employ Compressed Air.
After engraving, compressed air is a great way to get rid of any remaining debris or dust from the substrate. To remove any suspended particles from your material's surface, use a can of compressed air.
Because laser engraving is such a precise and intricate process, it calls for meticulous planning and attention to detail. You can get clean laser engravings every time by selecting the appropriate material, fine-tuning your laser settings, streamlining your design, cleaning your material, and eliminating surface residue. It's important to practice and try out various combinations of materials and settings to see which works best for your project. You'll be able to create excellent engravings faster and with less waste if you follow these suggestions.